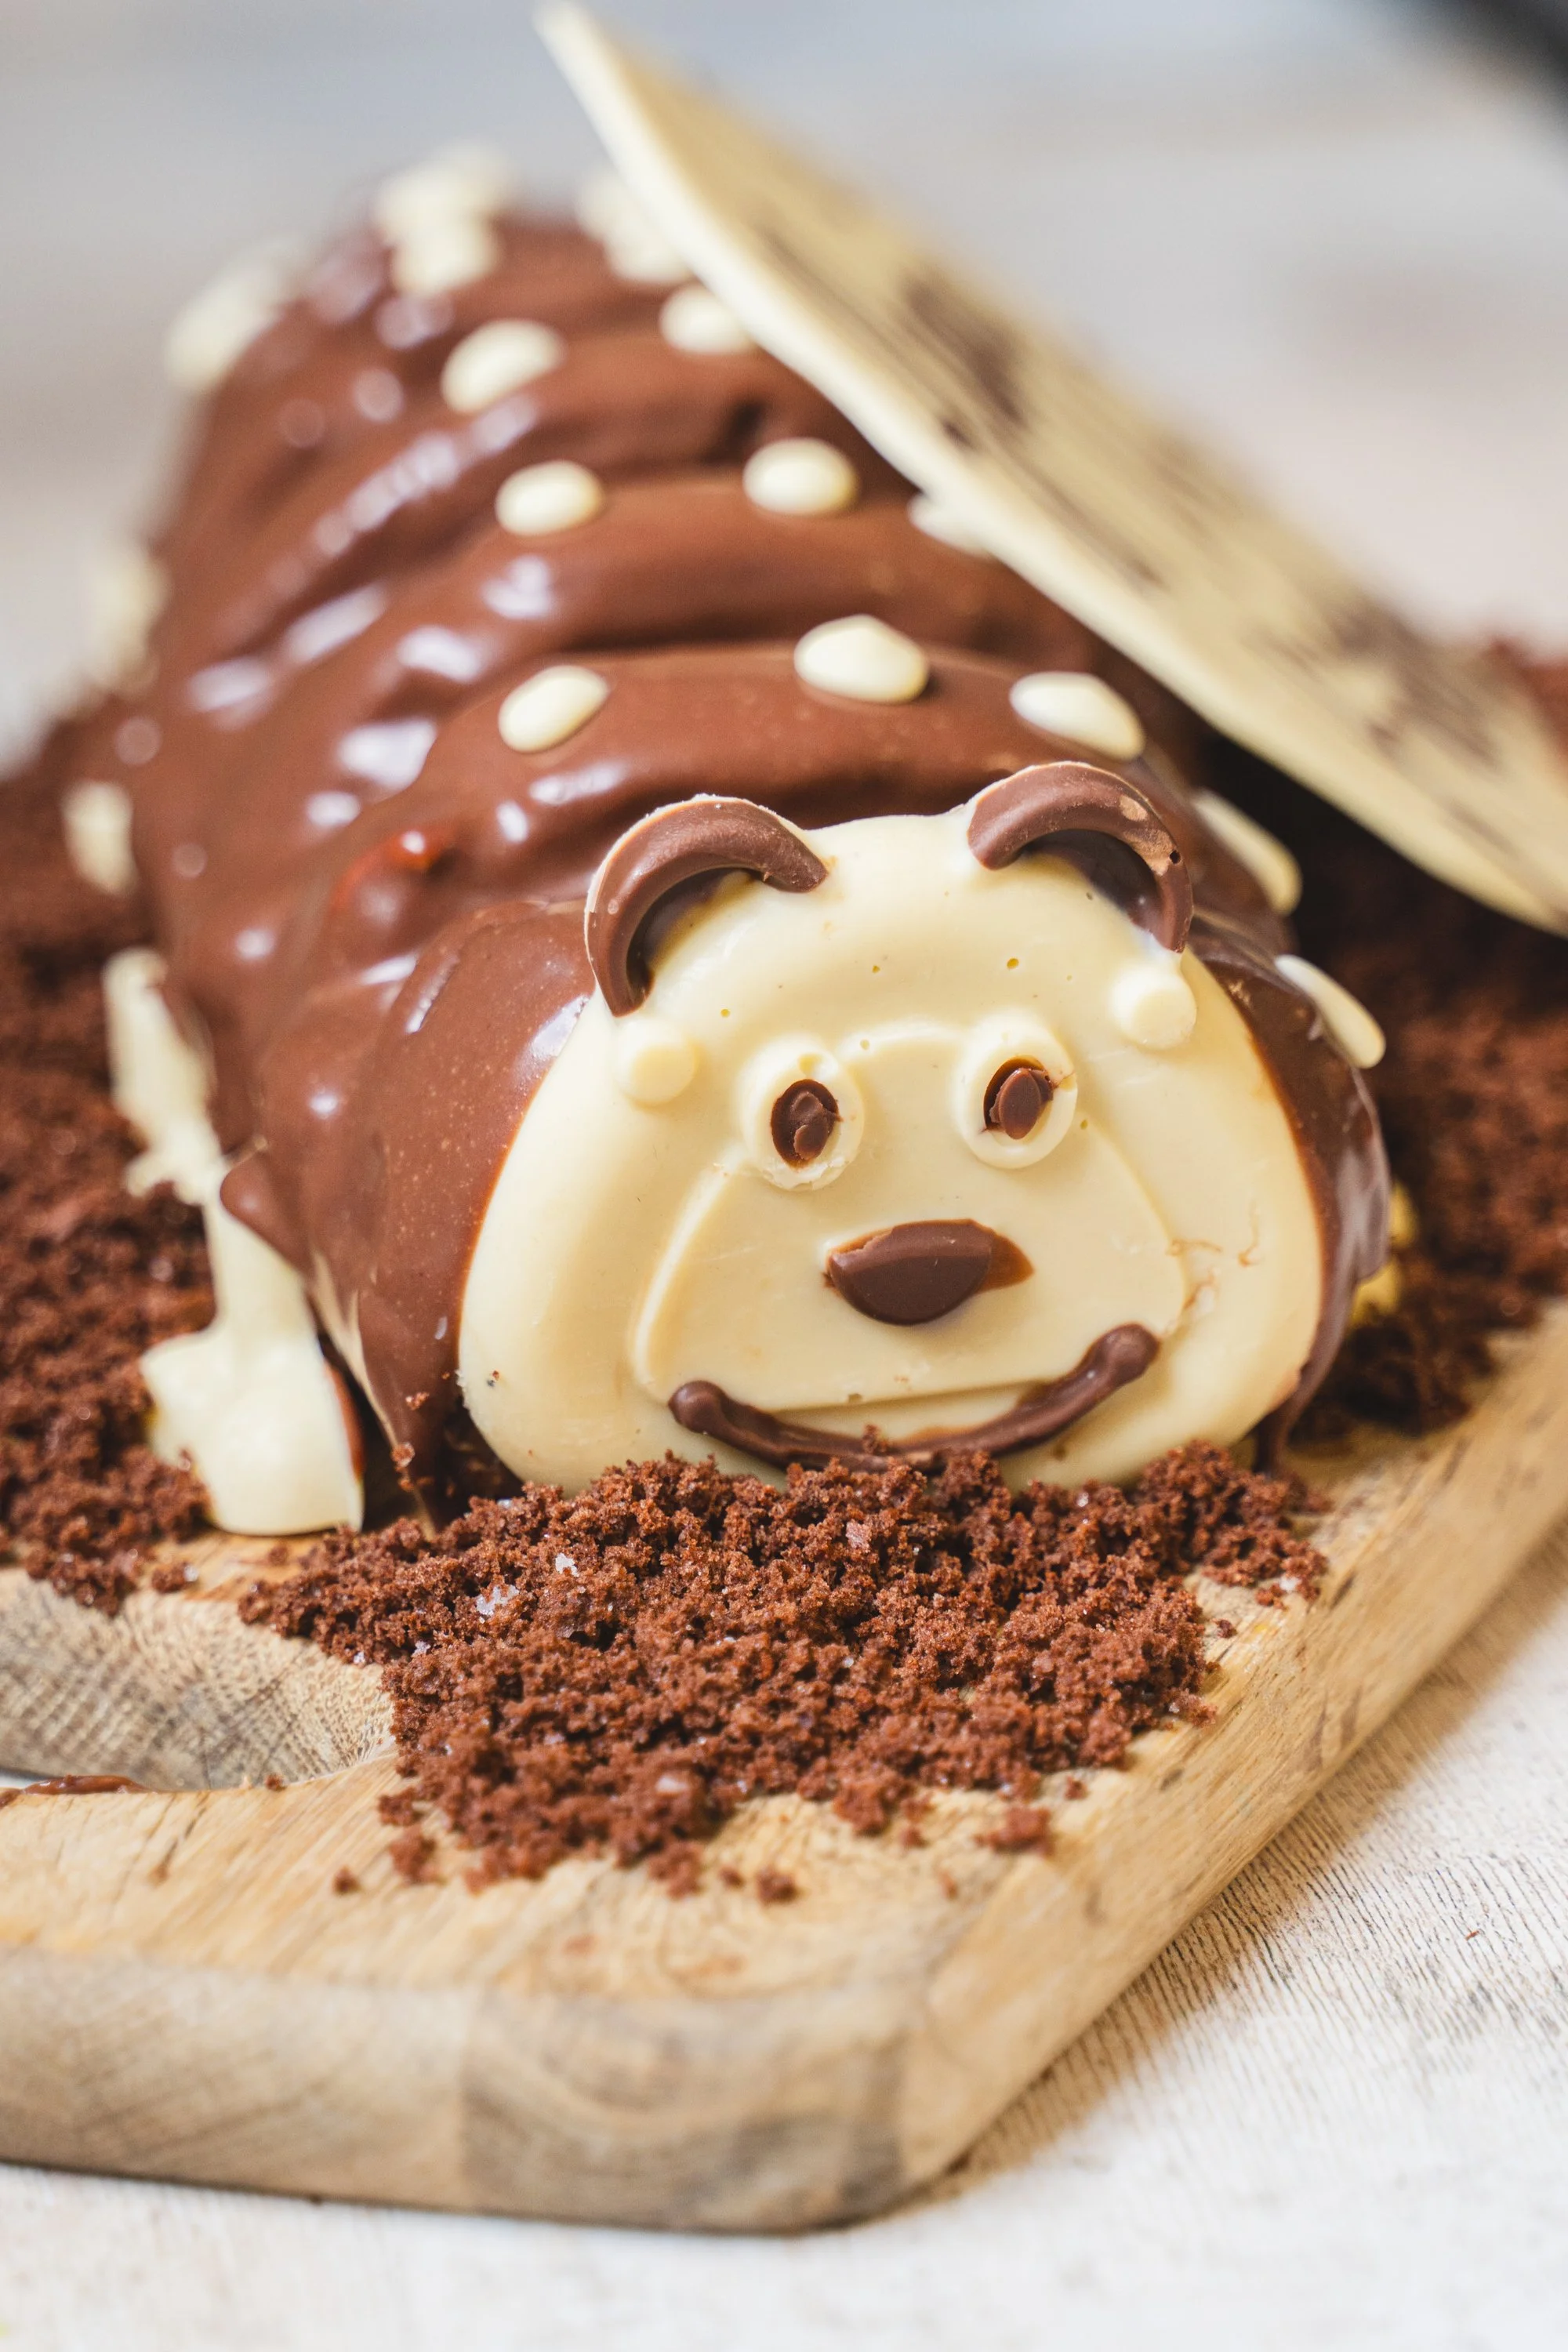
ISLANDS Caterpillar Cake
Colin, Cuthbert, Cecil, Morris. Call him what you will, that caterpillar cake has been a stalwart of British birthdays for well over a decade. We’ve taken inspiration from Paul Hollywood’s Caterpillar Cake to create our own delicious Islands version, ready for your next birthday celebration!
-
For the sponge
• 5 large eggs
• 125g caster sugar, plus extra for sprinkling
• 80g plain flour
• 50g cocoa powder
For the ganache coating
• 300ml double cream
• 200g 55% Milk Chocolate Buttons,
• 15g unsalted butter
For the chocolate Swiss meringue buttercream
• 110g 55% Milk Chocolate Buttons
• 110g unsalted butter, cubed and softened
For the caterpillar face
• 75g 37% White Chocolate Buttons
• 30g 55% Milk Chocolate
• 50g icing sugar, sifted
-
For the sponge
• Heat the oven to 220°C/200°C fan/425°F/Gas 7. Whisk the eggs and sugar, with a standing mixer or by hand, until thick and leaves a ribbon trail
• Sift the flour and cocoa powder into the bowl and gently fold it in using a large metal spoon, taking care not to beat any of the air out of the mixture
• Pour the mixture into the prepared tin and spread it evenly into the corners with a palette knife
• Bake the sponge on the middle shelf for 10-12 minutes, until it is well risen, firm to the touch, and starts to shrink away from the sides of the tin. Remove from the oven and reduce the temperature to 120°C/100°C fan/250°F/Gas ¾
• Place a sheet of baking paper larger than the Swiss roll tin on the work surface and sprinkle with caster sugar.
• Carefully invert the cake onto the paper and remove the lining paper. Score a line 2cm in from the edge of one of the short sides, making sure you don't cut all the way through the sponge. Starting from the scored short side, tightly roll up the sponge using the paper to help, then transfer it to a wire rack to cool completely.
Make the Ganache Coating
• Put the chocolate and butter in a heatproof bowl and set aside. Pour the cream into a pan and slowly bring it just to the boil.
• Pour it into the bowl with the chocolate and butter and leave the hot cream to melt them slightly for 1 minute, then stir until smooth and glossy. Leave the ganache to cool and thicken before using.
Prepare the Caterpillar's Face
• Melt the white chocolate in a heatproof bowl set over a pan of gently simmering water, stirring until smooth.
• Place the 7cm cutter in the middle of the lined plate and pour in the melted chocolate, then leave it to cool and set.
Making the Chocolate Swiss Meringue and Buttercream Filling
• Melt the chocolate in a heatproof bowl, set over a pan of gently simmering water. Stir until melted, then remove from the heat and leave to cool.
• Gradually add the butter to the meringue in the bowl of the stand mixer, whisking continuously until smooth. Fold in the cooled, melted chocolate. Chill until ready to use.
Assemble the Caterpillar
• Unroll the cooled Swiss roll and remove the baking paper. With one of the short sides facing you, make thirteen vertical cuts, 1.5cm apart and 15cm long into the sponge, so you now have fourteen strips of sponge that look like the keys on a piano. Cut the top of each alternate strip to remove seven sponge fingers (blitz or crumble these to make 'soil').
• Spread the filling over the sponge and re-roll the Swiss roll tightly from the other (non-cut) short end (the strips will make the ridges on the caterpillar body). Transfer the sponge to a wire rack set over a sheet of baking paper. Carefully pour the thickened ganache over the sponge roll to coat it smoothly, then gently transfer it to a serving plate or board.
Decorate the Face
• We used a caterpillar cake mould set for our caterpillar's face.
• Melt our 37% White Chocolate Buttons, pour into the mould and leave in the fridge to set.
• Finish off the face with melted 75% dark chocolate eyes, ears, mouth and nose.


